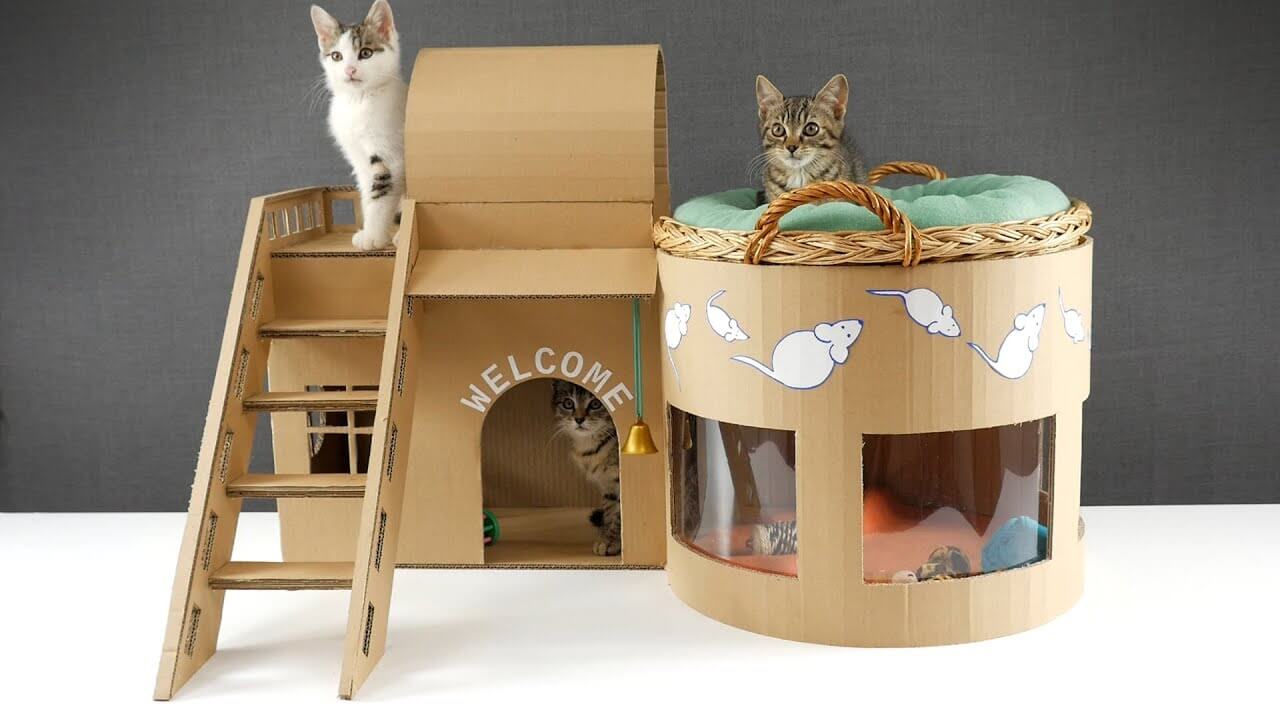
Creating a pet-friendly home doesn’t mean sacrificing style. With some creativity and a few DIY projects, you can design a space that is both aesthetically pleasing and accommodating to your furry friends. Here are some DIY pet-friendly home decor projects that will enhance your home’s look while making it more comfortable for your pets.
Custom Pet Bed
Materials:
- Wooden crate or pallet
- Sandpaper
- Paint or stain
- Cushion or foam
- Fabric for cushion cover
- Screws and drill
Instructions:
Prepare the Crate or Pallet: Sand the wooden crate or pallet to smooth out any rough edges. This will prevent your pet from getting splinters.
Paint or Stain: Apply a coat of paint or stain to the wood, ensuring it matches your home decor. Let it dry completely.
Create the Cushion: Measure the inside dimensions of the crate or pallet. Cut the foam to fit these dimensions. Sew a cover for the cushion using durable, washable fabric.
Assemble: Place the cushion inside the crate or pallet. Secure any loose parts with screws to ensure the structure is stable.
Personalize: Add your pet’s name with stencils and paint, or attach a nameplate.
DIY Cat Scratching Post
Materials:
- Wooden post or PVC pipe
- Sisal rope
- Base (wooden board or heavy-duty stand)
- Hot glue gun and glue sticks
- Fabric (optional, for the base)
- Screws and drill
Instructions:
Prepare the Base: If using a wooden board, sand it to remove rough edges. You can cover the base with fabric using a staple gun for added style and comfort.
Attach the Post: Secure the wooden post or PVC pipe to the base using screws and a drill. Make sure it is sturdy and upright.
Wrap with Sisal Rope: Starting at the bottom, use hot glue to attach the end of the sisal rope to the post. Tightly wrap the rope around the post, securing it with hot glue at intervals to ensure it stays in place.
Finish: Continue wrapping until the entire post is covered. Cut the rope and secure the end with hot glue.
Hidden Litter Box Cabinet
Materials:
- Old cabinet or nightstand
- Jigsaw
- Sandpaper
- Paint
- Litter box
- Cat door (optional)
Instructions:
Select a Cabinet: Choose a cabinet or nightstand that is large enough to fit your litter box.
Cut an Entrance: Using a jigsaw, cut an entrance on one side of the cabinet large enough for your cat to enter comfortably. Sand the edges to smooth them out.
Paint: Paint the cabinet to match your home decor. Let it dry completely.
Install the Litter Box: Place the litter box inside the cabinet. If desired, install a cat door over the entrance for added privacy.
Add Accessories: Add a mat inside to catch litter and a small shelf to hold litter scoop and bags.
Pet Feeding Station with Storage
Materials:
- Wooden board or old cabinet
- Bowls
- Jigsaw
- Sandpaper
- Paint or stain
- Hinges and handles (if using a cabinet)
- Storage bins or containers
Instructions:
Prepare the Board or Cabinet: If using a wooden board, sand it and cut it to size. If using an old cabinet, remove the doors and sand it.
Cut Holes for Bowls: Measure the diameter of your pet bowls and mark their positions on the board. Use a jigsaw to cut out the holes.
Paint or Stain: Apply a coat of paint or stain to the board or cabinet, letting it dry completely.
Install Bowls: Place the bowls in the holes. If using a cabinet, secure the board with screws or hinges, and attach handles.
Add Storage: Use the cabinet space or add storage bins underneath to keep pet food, treats, and other supplies organized.
DIY Pet Toy Storage Bin
Materials:
- Wooden crate or box
- Sandpaper
- Paint or stain
- Stencils and paint (optional)
- Casters (optional, for mobility)
Instructions:
Prepare the Crate or Box: Sand the wooden crate or box to remove any rough edges.
Paint or Stain: Apply a coat of paint or stain to the crate or box. Let it dry completely.
Personalize: Use stencils to add your pet’s name or decorative designs with paint.
Add Casters (Optional): Attach casters to the bottom of the crate for easy mobility. This is particularly useful for larger or heavier crates.
Store Toys: Use the bin to store your pet’s toys, keeping them organized and easily accessible.
Pet-Friendly Window Perch
Materials:
- Wooden board
- Brackets
- Foam or cushion
- Fabric for cushion cover
- Screws and drill
Instructions:
Measure and Cut the Board: Measure the width of your window and cut the wooden board to fit.
Sand and Paint: Sand the board to smooth out rough edges. Paint or stain it to match your decor, and let it dry.
Attach Brackets: Secure brackets to the bottom of the board and then to the window frame or wall, ensuring the perch is sturdy.
Create the Cushion: Measure and cut foam to fit the board. Sew a cover for the cushion using durable, washable fabric.
Assemble: Place the cushion on the board and secure it if necessary. Your pet now has a comfortable perch to enjoy the view.
DIY Dog Agility Course
Materials:
- PVC pipes and connectors
- Pool noodles
- Hula hoops
- Tape or markers
- Scissors or a saw
Instructions:
Design Your Course: Plan the layout of your agility course, including jumps, tunnels, and weave poles.
Create Jumps: Cut PVC pipes to the desired height and use connectors to create the frame. Slide pool noodles over the top for a soft, safe jump bar.
Build Weave Poles: Insert PVC pipes into the ground or a base at equal intervals to create a line of weave poles.
Make Tunnels: Use hula hoops to create a tunnel. Tape or secure them together to form a stable structure.
Set Up the Course: Arrange your jumps, weave poles, and tunnels in your yard or a designated area. Use tape or markers to indicate start and finish points.
Cat Climbing Wall
Materials:
- Wooden boards or shelves
- Brackets
- Carpet or sisal rope
- Screws and drill
- Stud finder
Instructions:
Plan the Layout: Design a layout for the climbing wall, considering the height and spacing of the shelves.
Cut and Sand Boards: Cut wooden boards to the desired size and sand them to smooth out rough edges.
Cover with Carpet or Sisal Rope: Wrap the boards with carpet or sisal rope for traction. Secure with staples or glue.
Attach Brackets: Secure brackets to the boards and then to the wall. Use a stud finder to ensure they are attached to studs for stability.
Assemble: Install the shelves at various heights and angles to create a fun climbing wall for your cat.
DIY Pet Gate
Materials:
- Wooden boards or baby gate
- Hinges
- Latch
- Paint or stain
- Screws and drill
Instructions:
Measure and Cut Boards: Measure the width of the doorway or area you want to block off. Cut wooden boards to size.
Sand and Paint: Sand the boards and paint or stain them to match your decor. Let them dry completely.
Assemble the Gate: Attach the boards together using hinges. Ensure the gate can swing open and closed easily.
Install Latch: Attach a latch to secure the gate when closed.
Install the Gate: Mount the gate to the doorway or opening using screws and a drill.
Conclusion
These DIY pet-friendly home decor projects are designed to enhance your living space while providing comfort and functionality for your pets. From custom pet beds and hidden litter boxes to agility courses and climbing walls, these projects can be tailored to fit your home and your pet’s needs. With a bit of creativity and some basic tools, you can create a stylish, organized, and pet-friendly environment that both you and your furry friends will love.


